Module 1: Course preparation#
Setting up tools and dependencies#
Perform the instructions in the following sections to prepare your machine for the course. You should then have a Python environment setup for GPU computing, Deconvolution and Deep Learning with the following tools
Mambaforge: An efficient package and environment manager for scientific computing.
Napari and devbio-napari: A 5D image viewer plus a bundle of plugins for processing microscopy images.
OpenCl, CLIJ, and Clesperanto for GPU computing with OpenCl
CuPy for GPU computing with Cuda (note Mac m1 does not support Cuda)
TNIA-Python for projections and helper functions
Clij2-fft for non-circulant Richardson Lucy Deconvolution with Total Variation Regularization
Tensorflow, Stardist and CSBDeep for deep learning segmentation and restoration
Raster-Geometry to create simple simulated objects
Getting the examples#
The examples for this course are organized into a jupyter-book. To get the most out of the course
Open the online book in a web browser and study the example notebooks. The online version of the course can be found here. The code examples are a rendering of code that has been run previously. This view shows the expected outputs of the examples. (We assume if you are reading this you have already found the online version of the course).
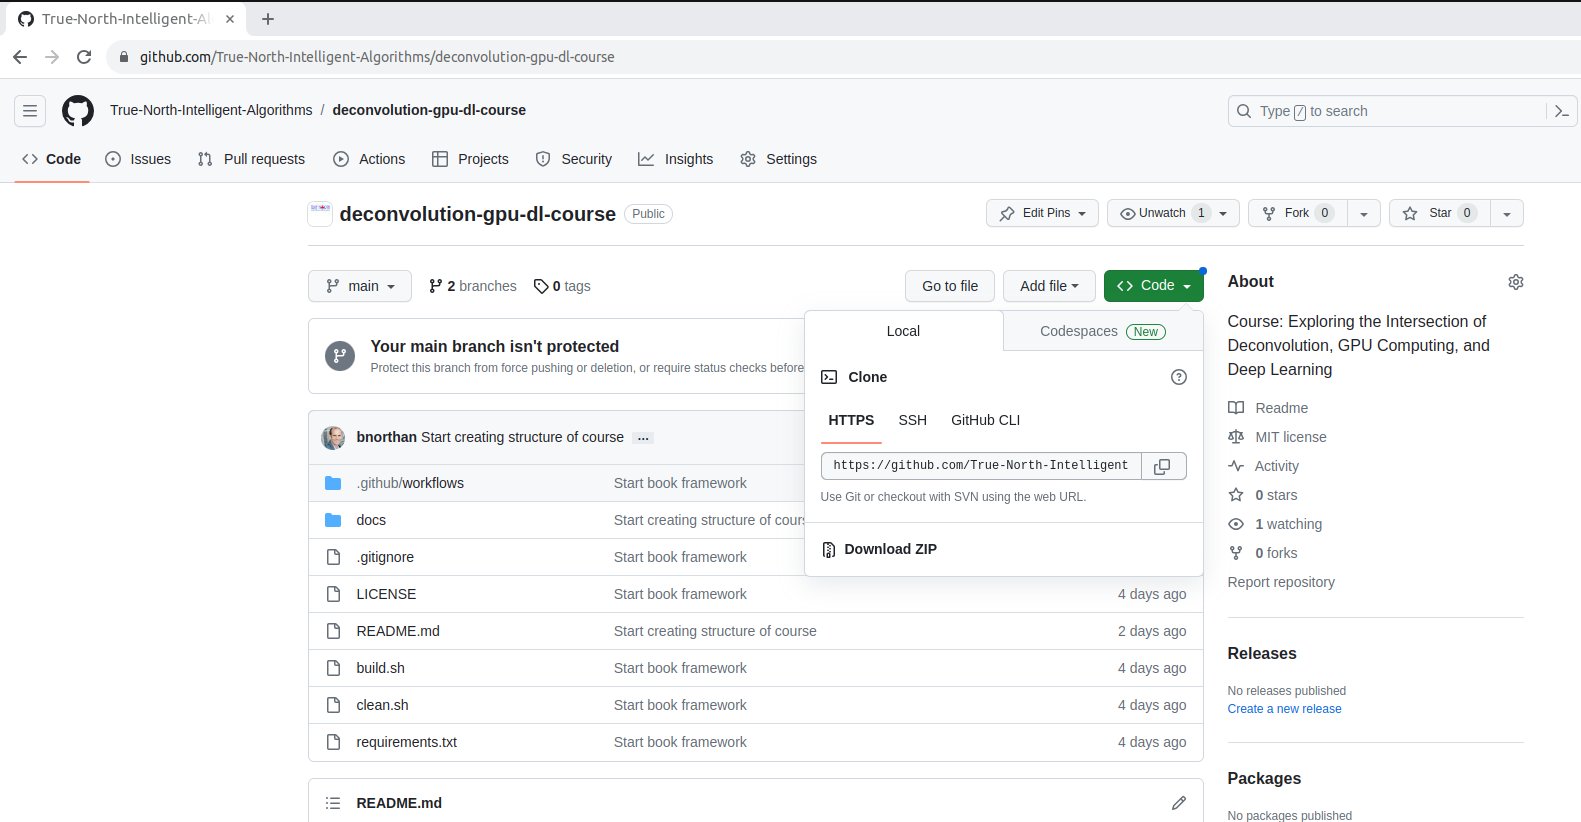
Also download the code to your personal device or a cloud VM and make sure you can run it successfully. You can get the code on github at True-North-Intelligent-Algorithms/deconvolution-gpu-dl-course.
You can use the green ‘code’ button to either get the url of the code (to clone using git) or download the code as a .zip.

To run the code locally browse into the folder where the code resides. IE if the code is on your desktop
cd Desktop/deconvolution-gpu-dl-course
Then start your preferred jupyter notebook development tool.
For example if you use jupyter lab simply type
jupyter lab
Or if you use Visual Studio Code
code .
